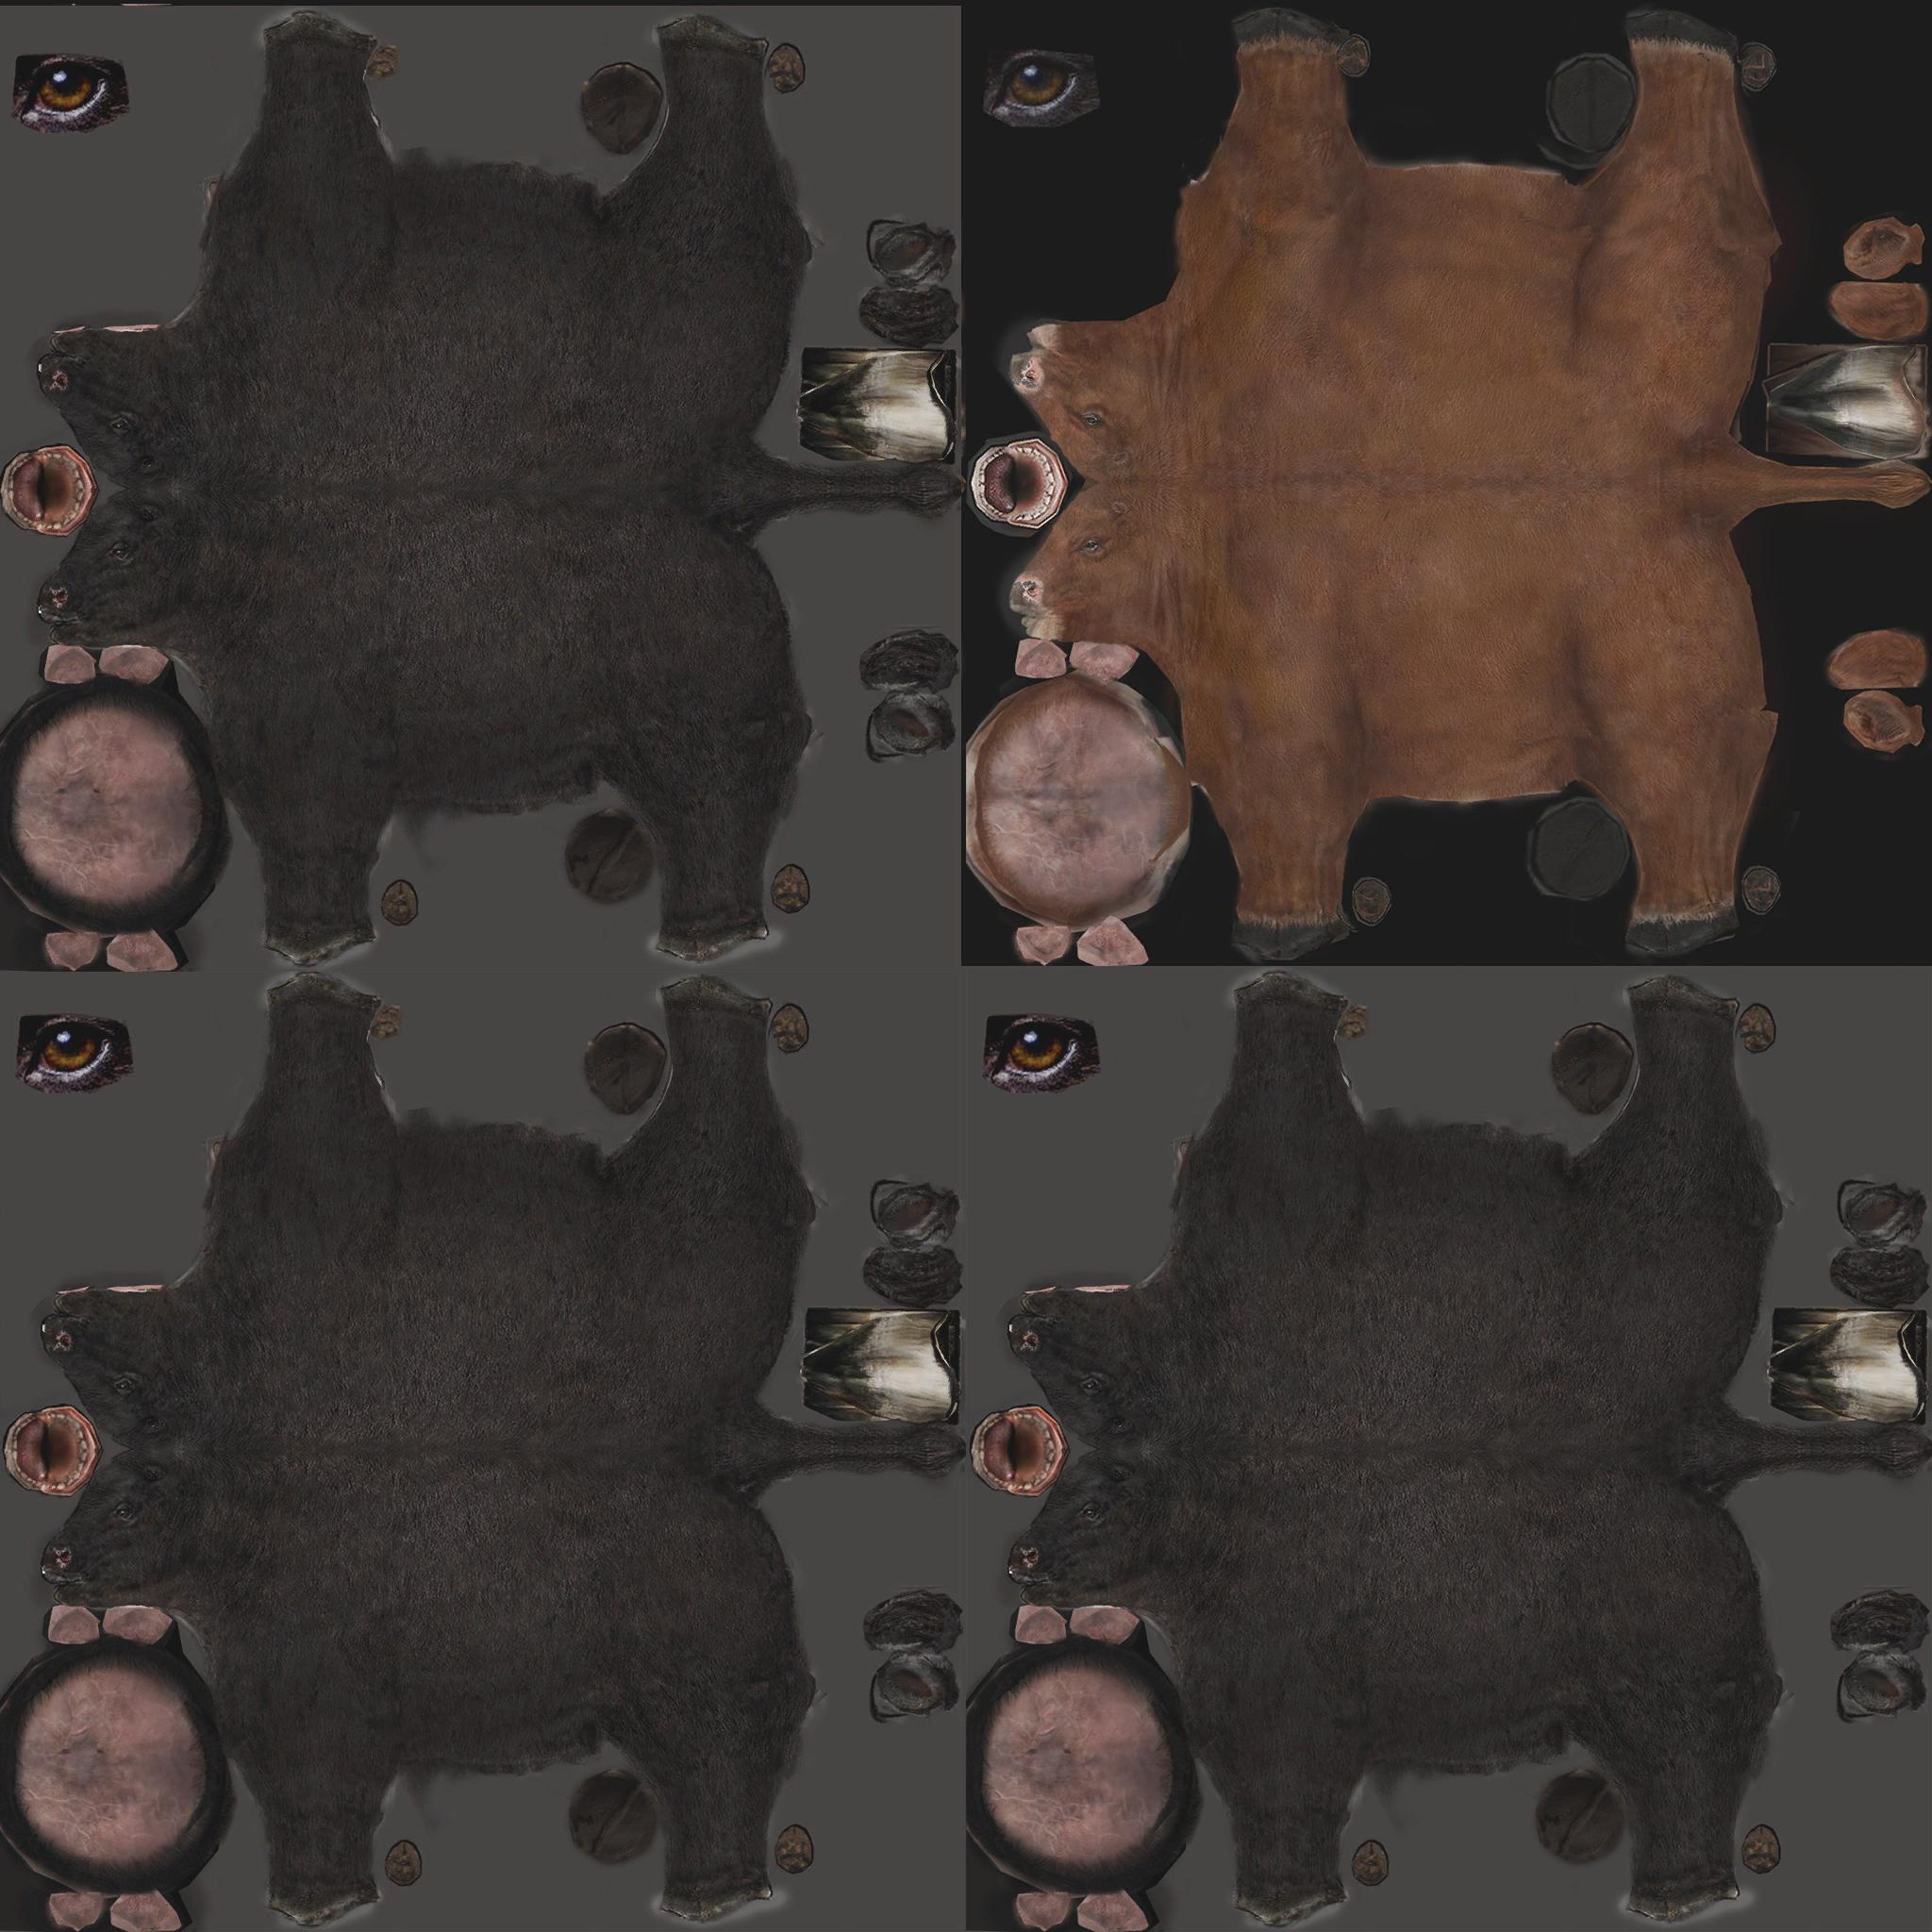

Beef Cattle v1.0.0.0 for LS17
This not for a vanilla maps.
I have set up the folders where you need to place them. Note: if you don’t have extra animals in map. beef cattle folder is the same as the folder
your map in. Copy the entries in you modDesc under the same place as I show you in my modDesc. Import the cows2Husbandry.i3D into map.
You will to put the mesh in the new area of map that you want.
Now for a map that has milk cows and you want to change out for beef cattle. I think all you need to do is in the cowHusbandry from $dataS/character/cowAnimalHusbandry.xml to
maps/character/cowAnimalHusbandry.xml and if you have brahmas and you want to change that just redirect to maps/character/cowAnimalHusbandry.xml
You can add it to you animals transform group.
You will need to edit the entry in the modDesc too. if you want to change anything Like this to
<addNewAnimal name=”cow2″ shoptitle=”cow2″ price=”2000″ mass=”600″ dailyUpkeep=”3″ canBeBought=”true” hasStatistics=”true” subType=”0″ milkPerDay=”0″ manurePerDay=”200″ liquidManurePerDay=”250″ palletFillLevelPerDay=”0″ pickUpObjectsPerDay=”0″ dirtFillLevelPerDay=”15″ birthRatePerDay=”1/26″ strawPerDay=”35″ waterPerDay=”15″ foodPerDay=”250″ />
I you have the animals that occupies 0,1,2,3 Than you will need to open map in notePad +++ and find the info channels and change it to:
Instructions for the installation of further animal pastures
1. backup your map!
2. use the GRLE converter to convert infoLayer.grle to infoLayer.png
3. remove infoLayer.grle from the maps folder, copy infoLayer.png to the maps folder.
4. Open the Map.i3d with Notepad++, search for the following line.
<InfoLayer name=”infoLayer” fileId=”39″ numChannels=”4″/> (fileID may differ)
change this to
<InfoLayer name=”infoLayer” fileId=”39″ numChannels=”16″/> (fileID may differ)
save the file, now open your map in the GE if there are no errors,
save your map with the GE, then close the GE and check if a new infoLayer. grle has been created,
if this is the case, you can remove infoLayer.png from the folder
5. Now you can start creating, creating other animal species and Navmeshes,
the original animals occupy bit 0-3, that means another Navmesh starts with bit 4 and goes up to bit 7.
6. Register your new animal species, the dealer’s AnimalLoad triggers and the new pastures.
7. Customize your animal trailer and add the new animals so that they can be loaded.